Draw Dynamic Manga Action Poses: 7 Pro Artist Steps
Learn how to draw dynamic action poses like a pro Shonen manga artist in 7 steps, focusing on key elements such as gesture, balance, and perspective to bring your characters to life with energy and impact.
Want to learn how to draw dynamic action poses like a pro Shonen manga artist in 7 steps? Capturing the energy and movement of your favorite characters requires understanding a few key principles. This guide will walk you through essential techniques to create dynamic, eye-catching action poses that bring your manga art to life.
Understanding the Basics of Dynamic Poses
Before diving into the step-by-step process, it’s crucial to understand the fundamental elements that make a pose dynamic. This involves grasping concepts like gesture drawing, weight distribution, and the line of action, which collectively contribute to a sense of movement and energy in your artwork.
Dynamic poses aren’t just about placing a character in a specific position; they’re about conveying a sense of narrative and emotion through body language. By mastering these basics, you’ll be able to create poses that tell a story and captivate your audience.
Gesture Drawing: Capturing the Essence of Movement
Gesture drawing is a quick and expressive method used to capture the overall essence of a pose. It focuses on the flow and direction of movement rather than precise details.
Weight and Balance: Grounding Your Characters
Understanding weight and balance is essential for creating believable and dynamic poses. The distribution of weight affects how stable a character appears and influences their overall posture.
- Exaggerate the Lean: Push the character’s lean to one side to create a sense of imbalance and anticipation.
- Counterbalance: Use the arms and legs to counterbalance the body’s weight, adding dynamism to the pose.
- Foot Placement: Adjust foot placement to indicate weight support and direction of movement.
By focusing on these foundational elements, you’ll be well-equipped to create dynamic and engaging action poses that bring your Shonen manga art to life. The key is to practice regularly and experiment with different poses to develop your own unique style.
Step 1: The Line of Action
The line of action is the backbone of any dynamic pose. It’s an imaginary line that runs through the center of the character’s body, defining the primary direction of the action. Starting with a strong line of action is crucial for creating a dynamic and engaging pose.
This line dictates the flow and energy of the entire pose, making it the foundation upon which all other elements are built. A well-defined line of action can instantly convey movement, power, and emotion.
Finding the Right Curve
Experiment with different curves and directions to find the most dynamic line of action for your pose. A simple “C” or “S” curve can often create a more engaging and energetic feel than a straight line.
Exaggerate the Line
Don’t be afraid to exaggerate the line of action to emphasize the movement. This can make the pose feel more powerful and dramatic.
- Visualize the Motion: Imagine the character performing the action and let that guide your line of action.
- Experiment with Shapes: Try different curves and angles to find the most dynamic line for your pose.
- Keep it Simple: Start with a single, clear line to represent the overall flow of the action.
Mastering the line of action is the first step toward creating truly dynamic and captivating action poses. With practice, you’ll be able to intuitively find the perfect line for any pose, bringing your manga art to life with energy and impact.
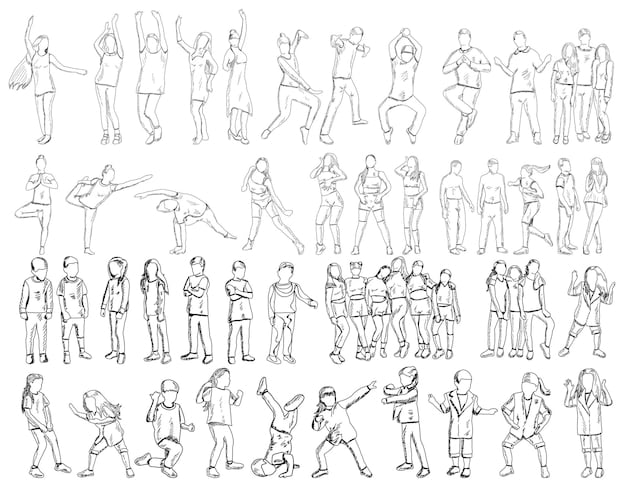
Step 2: Basic Shapes and Proportions
With the line of action established, the next step is to flesh out the basic shapes and proportions of the character. This involves mapping out the main body parts using simple geometric forms such as circles, ovals, and rectangles, ensuring they align with the line of action.
This stage is crucial for establishing the overall structure of the pose and ensuring that the character’s proportions are accurate. It’s a foundation upon which you’ll later add details and refine the anatomy.
Using Simple Forms
Break down the body into basic shapes to simplify the drawing process. This helps to focus on the overall structure and proportions before adding details.
Maintaining Proportions
Pay attention to the character’s proportions to ensure they are consistent with the Shonen manga style. Exaggerate certain features, such as the eyes or limbs, to create a more dynamic and expressive look.
- Head as a Unit: Use the head as a measuring unit to maintain consistent proportions throughout the body.
- Exaggerate Features: Don’t be afraid to exaggerate certain features to enhance the dynamism of the pose, but be mindful of proportion.
- Check Against the Line of Action: Regularly check the shapes and proportions against the line of action to ensure they align.
Focus on capturing the essence of the pose and ensuring that the basic shapes and proportions are accurate. With this foundation in place, you’ll be ready to move on to adding details and refining the anatomy, bringing your manga character to life with dynamic energy.
Step 3: Adding Volume and Depth
Once you’ve established the basic shapes, it’s time to add volume and depth to your character. This involves transforming your 2D shapes into 3D forms, giving the character a more realistic and dynamic appearance. Understanding how light and shadow interact with these forms is key.
This step is where your character starts to come to life, gaining a sense of presence and weight. By carefully considering the volume and depth of each body part, you can create a more compelling and believable pose.
Understanding Anatomy
A basic understanding of anatomy is crucial for adding volume and depth. Knowing where muscles and bones are located helps you to create more realistic and believable forms.
Using Light and Shadow
Use light and shadow to define the forms and create a sense of depth. Consider the direction of the light source and how it affects the overall appearance of the character.
By adding volume and depth, you’ll transform your character from a flat sketch into a dynamic, three-dimensional figure. This will not only enhance the visual appeal of your poses but also make them more believable and engaging for your audience.
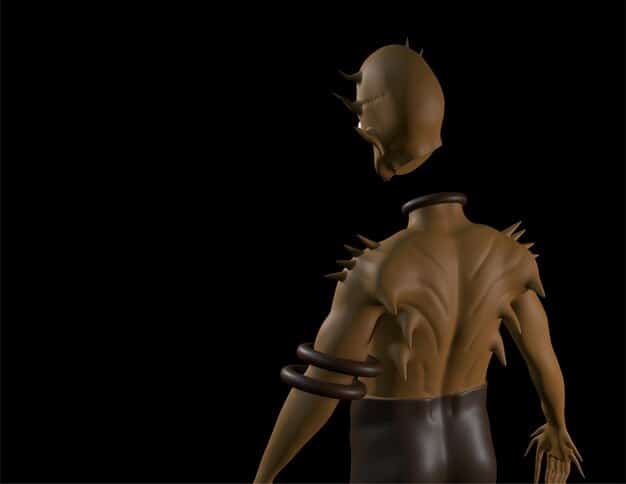
Step 4: Detailing the Anatomy
With the volume and depth in place, you can now focus on detailing the anatomy of your character. This involves refining the shapes, adding muscles and bone structure, and paying attention to the subtle nuances of the human form.
This step is essential for creating a believable and realistic character. By carefully detailing the anatomy, you can add depth, interest, and dynamism to your poses.
Refining Shapes
Refine the basic shapes established in earlier steps, paying attention to the contours and curves of the body. This is where you can add more definition to the character’s physique.
Adding Muscles and Bone Structure
Incorporate muscles and bone structure to add realism and depth to the character’s anatomy. Knowing where these elements are located helps you to create more believable forms.
- Study References: Use anatomy books or online resources to study the structure of muscles and bones.
- Focus on Key Areas: Pay particular attention to areas like the shoulders, arms, and legs, where muscles are more prominent.
- Practice Regularly: The more you practice detailing anatomy, the more natural and intuitive it will become.
By carefully detailing the anatomy of your character, you can elevate your action poses to a new level of realism and dynamism. This will not only impress your audience but also enhance the overall quality of your manga art.
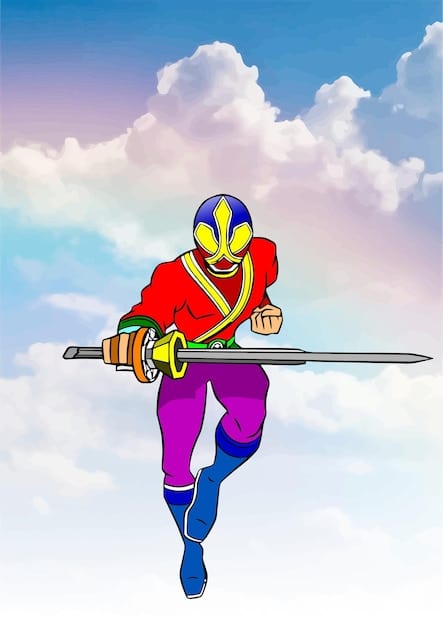
Step 5: Clothing and Fabric
Adding clothes and fabric to your character not only defines their style but also enhances the dynamism of the pose. Understanding how fabric drapes, folds, and moves in response to the character’s actions is crucial for creating realistic and engaging illustrations.
This step is an opportunity to add personality and visual interest to your character. By carefully considering the type of clothing and how it interacts with the pose, you can create a more compelling and dynamic image.
Understanding Fabric Dynamics
Study how different types of fabric behave in motion. Consider factors such as weight, texture, and elasticity, which affect how the fabric drapes and folds.
Adding Folds and Wrinkles
Use folds and wrinkles to create a sense of volume and movement in the clothing. Pay attention to where the fabric is stretched or compressed, as this will influence the placement of the folds.
- Observe Real-Life Examples: Study how clothing drapes and folds in real-life scenarios through photo references.
- Consider the Fabric Type: Understand how various fabrics behave distinctively, influencing drape and fold patterns.
- Exaggerate for Emphasis: Accentuate folds in areas of high movement or compression, enhancing the pose’s dynamism.
By mastering the art of clothing and fabric, you can add a new layer of realism and dynamism to your action poses. This will not only enhance the visual appeal of your manga art but also make your characters more believable and engaging for your audience.
Step 6: Perspective and Environment
Incorporating perspective and environment around your character greatly enhances the dynamic effect of your drawing. Understanding how to use perspective to create depth and context is essential for creating engaging action scenes.
This step is crucial for situating your character within a believable world and adding visual interest to your composition. By carefully considering the perspective and environment, you can create a more immersive and dynamic experience for your audience.
Understanding Perspective
Use perspective to create a sense of depth and distance in your scene. Consider the placement of the horizon line and vanishing points, and how they affect the appearance of objects in the environment.
Creating an Environment
Design an environment that complements the action pose and adds context to the scene. Consider factors such as lighting, weather, and background details to create a more immersive experience.
- Choose a Dynamic Viewpoint: Select a viewpoint that enhances the dynamic energy of the action pose.
- Use Atmospheric Perspective: Apply techniques such as blurring and color fading to indicate depth and distance.
- Include Background Details: Add relevant background elements to create a cohesive and engaging environment.
By masterfully integrating perspective and environment, you can provide a richer, immersive context for your action poses, dramatically enhancing their visual impact and dynamism.
Step 7: Adding Action Lines and Effects
The final touch to truly selling the dynamism of your action pose is the addition of action lines and visual effects. These elements communicate speed, impact, and energy, transforming a static image into a scene bursting with movement.
This step is where you can unleash your creativity and add the final touches that will make your action pose truly stand out. By carefully considering the placement and style of your action lines and effects, you can create a more dynamic and engaging image.
Using Action Lines
Employ action lines to convey the direction and speed of movement. Experiment with different line weights, lengths, and styles to create different effects.
Adding Visual Effects
Incorporate visual effects such as speed lines, motion blur, and impact effects to enhance the feeling of movement and power. These effects can add a sense of drama and excitement to your action poses.
- Directional Hints: Use action lines to clearly indicate the direction of movement.
- Emphasize Impact: Employ visual effects to highlight moments of high impact or collision.
- Subtle Enhancements: Use effects judiciously to complement rather than overwhelm the central pose.
| Key Element | Brief Description |
|---|---|
| 🤸 Line of Action | Defines the pose’s energy flow. |
| 🧑🎨 Basic Shapes | Maps out body structure simply. |
| 🩳 Clothing & Fabric | Adds realism and style to pose. |
| 💥 Action Lines | Show speed and impact. |
Frequently Asked Questions
▼
The line of action is an imaginary line that runs through the main part of the character’s body and it is the backbone of the pose and dictates the flow and energy of the entire pose.
▼
Basic shapes help simplify the drawing process by breaking down the body into manageable forms, to establish the overall structure and proportions before adding details.
▼
To make clothing look dynamic, study how fabric drapes in motion and add folds and wrinkles to create a sense of volume. Also exaggerate folds where the fabric is stretched or compressed.
▼
Action lines are indeed important for conveying the direction and speed of a movement. Without them, dynamism is difficult to represent.
▼
Integrate a sense of depth and distance by using perspective. Consider horizon lines and vanishing points to ground your action poses within an environment that enhances visual interest.
Conclusion
Mastering dynamic action poses is a journey that combines foundational knowledge with creative expression. By following these seven steps—from establishing the line of action to adding the finishing touches of motion effects—you can infuse your Shonen manga art with the energy, power, and visual storytelling that defines the genre.


