Cosplay Armor Detailing: Intricate Designs with Craft Foam & Worbla
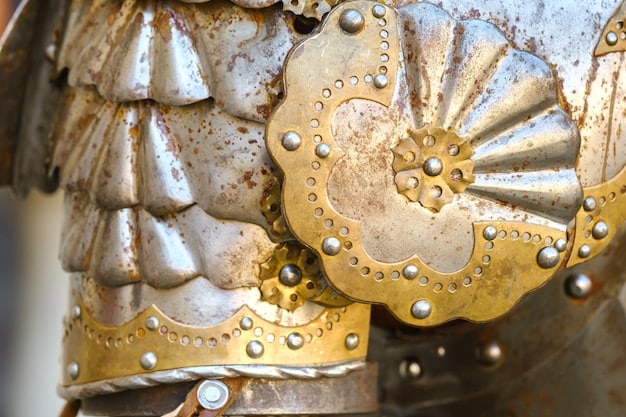
Cosplay armor detailing using craft foam and Worbla involves various techniques like scoring, layering, and heat-shaping to create intricate designs, offering cosplayers versatile and affordable options for realistic and visually stunning armor pieces.
Unlocking the secrets to stunning cosplay armor is now easier than ever. This guide dives deep into cosplay armor detailing using craft foam and Worbla, transforming your creations with intricate designs and professional finishes.
Understanding Craft Foam for Cosplay Armor
Craft foam is a staple material in the cosplay community for its affordability, versatility, and ease of use. It’s perfect for beginners and experienced cosplayers alike.
Different types of craft foam offer varying densities and thicknesses, each suited for specific detailing techniques. Choosing the right foam can significantly impact the final look and durability of your cosplay armor.
Types of Craft Foam
Selecting the appropriate craft foam is essential for achieving the desired look and feel for your cosplay armor. Various types cater to different needs and detailing techniques.
- EVA Foam: Known for its flexibility and durability, ideal for larger armor pieces.
- High-Density Foam: Offers a smoother surface for intricate details and painting.
- Foam Clay: Perfect for sculpting small details and adding unique textures.
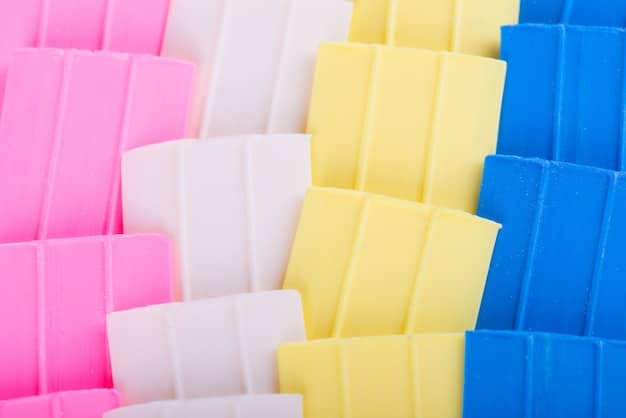
Understanding the properties of each type of craft foam allows you to choose the best material for your intricate cosplay armor detailing.
Working with Worbla for Enhanced Detailing
Worbla is a thermoplastic material that becomes moldable when heated, making it excellent for adding complex shapes and details to cosplay armor. Its reusability and strength make it a favorite among cosplayers.
Combining Worbla with craft foam can create a robust and visually striking armor piece, with the foam providing structure and the Worbla adding durability and intricate surface details.
Advantages of Using Worbla
Worbla offers several advantages that enhance the quality and appearance of cosplay armor, making it a valuable material for detailing.
- Reusability: Scraps can be reheated and reshaped, minimizing waste.
- Durability: Adds strength and impact resistance to foam armor.
- Fine Details: Capable of holding intricate sculpted details.
The unique properties of Worbla allow cosplayers to achieve professional-looking results and create armor that can withstand wear and tear.
Basic Tools and Materials for Armor Detailing
Having the right tools and materials is crucial for successful cosplay armor detailing. These essentials will help you cut, shape, and finish your armor pieces with precision.
From cutting tools to painting supplies, each item plays a significant role in bringing your intricate designs to life. Investing in quality tools will improve your workflow and the final product.
Essential Tools
Equipping yourself with the necessary tools is the first step towards creating detailed cosplay armor. These tools will assist you in every stage of the detailing process.
- Craft Knife: For precise cutting and trimming of foam and Worbla.
- Heat Gun: To heat and shape Worbla effectively.
- Cutting Mat: Provides a safe and accurate surface for cutting.
With these essential tools, you’ll be well-prepared to tackle any detailing challenge and create stunning cosplay armor.
Techniques for Adding Intricate Designs with Craft Foam
Craft foam provides a versatile canvas for adding intricate designs to your cosplay armor. Several techniques can transform simple foam shapes into elaborate details.
From scoring and layering to sculpting and embossing, mastering these techniques will allow you to add depth, texture, and visual interest to your armor pieces.
Scoring and Etching
Scoring and etching are simple yet effective methods for adding surface details to craft foam. These techniques create subtle lines and patterns that enhance the realism of your armor.
By carefully controlling the depth and spacing of your cuts, you can simulate textures like metal paneling, fabric weaves, or organic patterns. Scoring is best achieved with a sharp craft knife and a steady hand.
Layering Techniques
Layering involves stacking multiple pieces of craft foam to create raised details and three-dimensional effects. This technique is ideal for adding depth and visual complexity to your armor.
Experiment with different thicknesses and shapes of foam to achieve various layered effects. Adhesives like contact cement or hot glue work well for securing the layers together.
Craft foam’s versatility allows for extensive design options, making it a staple in creating intricate costume armor.
Mastering Worbla Shaping and Detailing
Worbla is a versatile thermoplastic that allows you to create complex shapes and intricate details on your cosplay armor. Its heat-activated properties make it easy to mold and manipulate.
By using heat guns, sculpting tools, and various shaping techniques, you can transform Worbla into seamless extensions of your craft foam armor, adding durability and visual appeal.
Heat Shaping and Molding
Heat shaping involves using a heat gun to soften Worbla, making it pliable and easy to mold. This technique allows you to create curved surfaces, complex shapes, and seamless transitions between foam and Worbla.
Apply heat evenly to the Worbla until it becomes soft and flexible, then use your hands or sculpting tools to shape it as desired. Be careful not to overheat the Worbla, as it can become brittle and difficult to work with.
Sculpting Fine Details
Worbla’s ability to hold fine details makes it perfect for sculpting intricate designs and textures on your armor. Use sculpting tools like clay shapers, dental picks, or even household items to create fine lines, patterns, and three-dimensional elements.
Work on a heat-resistant surface and keep the Worbla warm as you sculpt. You can also use water or talcum powder to prevent the Worbla from sticking to your tools.
Painting and Finishing Your Detailed Armor
The final step in creating stunning cosplay armor is painting and finishing. This process brings your intricate designs to life and adds the final touches that make your armor stand out.
From priming and base coating to weathering and sealing, each step is essential for achieving a professional-looking finish that enhances the realism and durability of your armor.
Priming and Base Coating
Priming is a crucial step in preparing your armor for painting. It creates a smooth, even surface that helps the paint adhere better and prevents it from soaking into the foam or Worbla.
Apply multiple thin coats of primer, allowing each coat to dry completely before applying the next. Sand lightly between coats to remove any imperfections and create an even smoother surface.
Weathering and Detailing
Weathering techniques add depth, realism, and character to your armor by simulating the effects of wear and tear. Use techniques such as dry brushing, washes, and stippling to create scratches, dirt, and other signs of aging.
Experiment with different colors and textures to achieve the desired effect. Reference photos of real armor or the source material for your character to ensure accuracy and authenticity.
| Key Point | Brief Description |
|---|---|
| 🛠️ Craft Foam Types | EVA, high-density, and foam clay offer different textures & durability. |
| 🔥 Worbla Advantages | Reusable thermoplastic for durable, detailed armor pieces. |
| 🔪 Essential Tools | Craft knife, heat gun, and cutting mat are vital for precision. |
| 🎨 Painting Steps | Priming, base coating, weathering, and sealing create pro finish. |
FAQ
▼
EVA foam is ideal for larger pieces due to its flexibility. High-density foam suits intricate details, while foam clay helps sculpt smaller, unique textures.
▼
Use a heat gun to soften the Worbla evenly. Shape it with your hands or sculpting tools while warm, being careful not to overheat, which can make it brittle.
▼
A craft knife for cutting, a heat gun for shaping Worbla, and a cutting mat for safety are essential. Sculpting tools help add fine details, enhancing the armor’s look.
▼
Apply weathering by dry brushing, using washes, or stippling to simulate wear and tear. Reference real armor photos for authentic detailing and aging effects.
▼
Priming creates a smooth surface for better paint adhesion and prevents paint absorption. Multiple thin coats, sanded lightly, result in a more professional finish.
Conclusion
Mastering cosplay armor detailing with craft foam and Worbla opens up a world of creative possibilities. By understanding the properties of these materials, utilizing the right tools, and practicing various detailing techniques, you can transform simple foam shapes into stunning, professional-looking armor pieces that bring your cosplay visions to life.

