Cosplay Repair Guide: Fixes for Common Costume Problems
Cosplay Repair Guide provides practical solutions to common costume and prop malfunctions, ensuring cosplayers can maintain their creations, extend their lifespan, and prevent mishaps at conventions and events.
Embarking on a cosplay journey involves creativity, dedication, and sometimes, a bit of unexpected damage. This cosplay repair guide: fixing common costume and prop problems offers practical, step-by-step solutions to ensure your meticulously crafted cosplay stays intact, allowing you to fully enjoy your convention experience.
Cosplay Repair Essentials: Tools and Materials
Before diving into specific repairs, it’s crucial to assemble a comprehensive toolkit. Having the right tools and materials on hand will make the cosplay repair guide: fixing common costume and prop problems process smoother, faster, and more effective, saving you time and frustration.
Essential Tools for Cosplay Repair
Every cosplayer should have a basic set of tools for quick repairs. These tools will help you handle a wide range of issues, from minor tears to more complex structural problems.
- Sewing Kit: Needles, threads (various colors), scissors, seam ripper, and measuring tape are essential for fabric repairs.
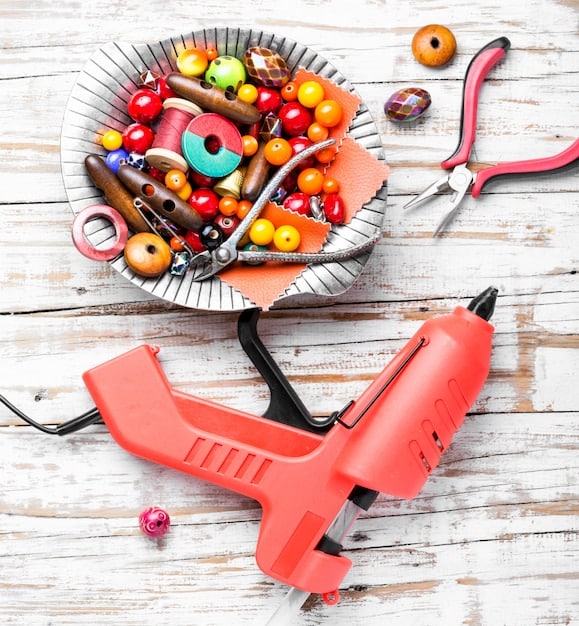
- Adhesives: Hot glue gun, super glue, fabric glue, and epoxy are indispensable for bonding different materials.
- Cutting Tools: Utility knife, rotary cutter, and craft knife are useful for trimming and shaping materials.
- Sandpaper: Different grits of sandpaper are needed for smoothing rough edges and preparing surfaces for painting or gluing.
Must-Have Materials for Fixing Cosplay
In addition to tools, having various materials on hand can save the day when a repair is needed. Choose materials that match the fabrics and components of your costumes.
- Spare Fabric: Having extra fabric matching your costume’s material is crucial for patching tears and replacing damaged sections.
- Foam Sheets: EVA foam is widely used in cosplay for armor and props. Keep extra sheets for quick repairs.
- Worbla: This thermoplastic material is excellent for creating durable and heat-moldable components.
- Paints and Sealants: Acrylic paints, spray paints, and sealants are essential for touching up painted areas and protecting surfaces.
Having these tools and materials readily available will enable you to tackle most common repairs efficiently. Don’t underestimate the importance of being prepared; a well-stocked repair kit can be a lifesaver at conventions.
Fixing Fabric Tears and Seam Rips
Fabric damage is a common issue in cosplay, especially with intricate designs and delicate materials. Learning how to repair tears and rips effectively is a key component of cosplay repair guide: fixing common costume and prop problems, ensuring your outfit looks its best.
Simple Sewing Techniques for Cosplay
Mastering basic sewing techniques can significantly extend the life of your costumes. These techniques are straightforward and can be applied to a variety of fabric types.
Use a needle and thread that matches fabric to perform a basic seam to fix rips and tears. Try to sew from the inside to hide stitches.
Use small, even stitches for a clean and professional look. Secure the thread with a knot at the beginning and end of the seam.
Adhesive Solutions for Fabric Repairs
Sometimes, sewing might not be the best option, especially for quick fixes or when dealing with delicate fabrics. Adhesive solutions can provide a convenient alternative.
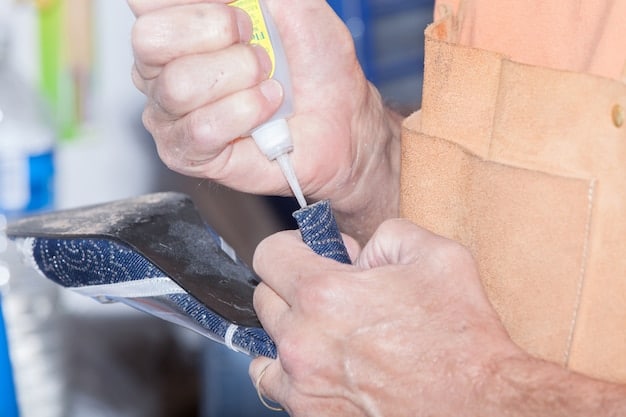
- Fabric Glue: Ideal for bonding fabric to fabric, providing a flexible and durable hold.
- Iron-On Patches: Great for reinforcing weak areas or covering up tears.
- Seam Sealant: Prevents fraying at the edges of repaired seams and tears.
When using adhesives, ensure the fabric is clean and dry. Apply the adhesive sparingly to avoid stiffness and allow it to dry completely before wearing the costume.
Repairing fabric tears and seam rips doesn’t have to be daunting. With a few simple techniques and the right materials, you can keep your fabric costumes looking impeccable.
Repairing Armor and EVA Foam Props
Armor and EVA foam props are popular components of many cosplays, but they are also susceptible to damage from wear and tear. Thus, cosplay repair guide: fixing common costume and prop problems includes information about keeping these items in tip-top shape.
Reinforcing Foam Armor
Foam armor can crack or break at stress points. Reinforcing these areas can prevent further damage and extend the life of your armor.
Apply a thin layer of contact cement to both surfaces being joined. Allow the contact cement to become touch dry before firmly pressing them together.
Consider using flexible fillers to patch any gaps or dents. Sand to blend the filler, then repaint as needed
Fixing Cracks and Breaks in EVA Foam
When EVA foam cracks or breaks, it’s essential to use adhesives designed for foam. Here’s how to repair these issues:
- Hot Glue: Works well for quick fixes, but may not be as durable for high-stress areas.
- Contact Cement: Provides a strong and flexible bond. Apply to both surfaces, let dry, and then press together.
- Epoxy: Best for heavy-duty repairs, creating a strong and rigid bond.
When repairing cracks, clean the surfaces and apply the adhesive evenly. Clamp or hold the pieces together until the adhesive sets completely.
Repairing armor and EVA foam props requires understanding the properties of the materials and choosing the right adhesives. With proper care and maintenance, your armor can withstand even the most demanding cosplay events.
Restoring Painted Surfaces and Finishes
Painted surfaces can scratch, chip, or fade over time. Restoring finishes is an important part of cosplay repair guide: fixing common costume and prop problems, helping to maintain the visual appeal of your cosplay. With the proper applications, your costumes can look their best for years to come.
Touching Up Paint on Props
Scratches and chips can easily detract from the overall appearance of your props. Touching up these imperfections can significantly improve the look.
Use fine-grit sandpaper to smooth out any rough edges around the damaged area. Don’t apply too much pressure or ruin the paint job. Make small, circle motions when sanding paints..
Carefully apply matching paint to the affected area using a small brush or airbrush. Let the paint dry completely between coats.
Protecting Finishes with Sealants
Applying a sealant can protect painted surfaces from further damage, such as scratches, UV damage, and moisture. Here’s how to seal your finishes:
- Acrylic Sealants: Provide a clear, durable finish that protects against scratches and UV damage.
- Spray Sealants: Easy to apply and provide even coverage. Choose a matte or gloss finish depending on the desired look.
- Polyurethane Sealants: Offer excellent protection against moisture and abrasion, ideal for props that will be handled frequently.
Apply the sealant in thin, even coats, allowing each coat to dry completely before applying the next. A well-sealed finish can significantly extend the life of your painted props and costumes.
Maintaining the aesthetic appeal of your cosplay requires consistent upkeep and care. By following these simple guidelines, you can keep your props looking as good as new for every convention.
Dealing with Wig Detangling and Styling
A well-styled wig can make or break a cosplay. Tangles, frizz, and styling issues are common problems that cosplayers face. These issues are covered in the cosplay repair guide: fixing common costume and prop problems, so you can maintain a stylish wig.
Start by detangling the wig using a wide-tooth comb or a wig brush. Gently remove knots, working from the ends towards the roots.
For stubborn tangles, use a detangling spray specifically designed for wigs. This will help to loosen the knots and make them easier to comb out.
Restoring Wig Styling
Wig styles can lose their shape during storage or transport. Here’s how to restore and maintain the desired style:
- Heat Styling: Use a wig-safe heat styling tool to reshape the wig. Keep the temperature low to avoid damaging the fibers.
- Setting Spray: Apply hairspray or wig-specific setting spray to hold the style in place.
- Wig Stand: Store your wig on a wig stand to maintain its shape and prevent tangling.
Avoid using regular hair products on wigs, as they can weigh down the fibers and make them look unnatural. Use products specifically designed for wigs to achieve the best results.
With proper care and styling, you can keep your cosplay wig looking fresh and vibrant, ensuring it complements your overall look. Invest time into wig care to prevent future mishaps.
Preventive Maintenance Tips for Long-Lasting Cosplays
Prevention is crucial for extending the life of your cosplays. By implementing proactive measures, you can reduce the need for frequent repairs and keep your costumes in excellent condition. Listed in this cosplay repair guide: fixing common costume and prop problems are several things you can do to prevent potential damage.
Proper Storage Techniques
How you store your cosplay can significantly impact its longevity. Proper storage protects your costumes from damage and helps maintain their shape.
- Garment Bags: Use garment bags to protect delicate fabrics from dust, sunlight, and moths.
- Hangers: Use padded hangers to prevent stretching and distortion of costume pieces.
- Storage Bins: Store props and accessories in clear plastic bins to protect them from damage and make them easy to locate.
Keep your cosplay storage area clean, dry, and away from direct sunlight.
Handling Your Cosplay with Care to Prevent Damage
Being mindful of how you handle your cosplay during wear and transport can significantly reduce the risk of damage.
Avoid placing heavy items on top of your cosplay during transport. Use protective cases for delicate props.
Handle your costume with clean hands to avoid staining the fabric. When removing your cosplay, be gentle and avoid pulling on delicate components
By following these preventive maintenance tips, you can keep your cosplays in pristine condition for years to come, ensuring they look fantastic at every event.
| Key Point | Brief Description |
|---|---|
| 🧰 Essential Tools | Having a sewing kit, adhesives, cutting tools, and sandpaper is crucial. |
| 🧵 Fabric Repairs | Master basic sewing or use adhesives for quick fixes on tears and rips. |
| 🛡️ Armor Maintenance | Reinforce foam armor with contact cement and fix cracks with hot glue or epoxy. |
| ✨ Finish Restoration | Touch up chipped paint and seal surfaces to protect against damage. |
FAQ Section
▼
A basic sewing kit, a variety of adhesives (hot glue, super glue, fabric glue), cutting tools, and sandpaper are essential for most cosplay repairs.
▼
For delicate fabrics, use fabric glue or fine needle and thread and sew inside out. Iron-on patches can also work if there is not much strain.
▼
Reinforce foam armor by applying a thin layer of contact cement to both surfaces being joined. Secure all the gaps when gluing. Allow the adhesive to dry before sticking together.
▼
To prevent tangling, gently comb the wig using a wide-tooth comb or wig brush, using detangling spray designed specifically for wigs. Store on a wig stand.
▼
Store costumes in garment bags, or use padded hangers to prevent stretching. Keep your cosplay storage area clean, dry, and away from direct sunlight.
Conclusion
Maintaining your cosplay doesn’t have to be a daunting task. By equipping yourself with the right tools and knowledge, you can easily tackle common repairs and keep your costumes looking amazing for years to come. Remember, prevention is key – proper storage and careful handling will go a long way in extending the life of your beloved creations.


