Master Cosplay Prop Finishing: Sanding, Priming, & Sealing Guide
Cosplay prop finishing techniques, including sanding, priming, and sealing, are essential for creating durable and professional-looking props, ensuring your creations withstand wear and tear while showcasing intricate details and vibrant colors.
Creating a stunning cosplay prop involves more than just crafting its basic shape. The magic truly happens in the finishing stages, where cosplay prop finishing techniques such as sanding, priming, and sealing transform a raw creation into a polished masterpiece. These steps are crucial for achieving both aesthetic appeal and long-lasting durability.
Understanding the Importance of Prop Finishing
Prop finishing is the process of refining the surface of your cosplay prop to achieve a desired look and feel. It ensures a smooth, even surface that’s ready for paint and other decorative elements. Skipping these steps can lead to a prop that looks amateurish and is prone to damage.
Why Proper Finishing Matters
Proper finishing enhances the overall aesthetic and longevity of your cosplay prop. It involves techniques to smooth surfaces, fill imperfections, and protect the prop from the elements and wear. This attention to detail elevates your cosplay from good to outstanding.
Durability and Longevity
A well-finished prop is more resistant to scratches, dents, and other damage. The layers of primer and sealant act as a protective barrier, extending the life of your creation and allowing you to showcase it at multiple events without fear of significant wear.
Ultimately, mastering prop finishing is about investing time and effort to achieve a professional-grade result. It’s the key to creating cosplay props that not only look amazing but also stand the test of time. A smooth, well-protected surface allows your paint job to shine and intricate details to pop, making your prop truly stand out.
Essential Tools and Materials for Prop Finishing
Before diving into the finishing process, gather the right tools and materials to ensure a smooth and efficient workflow. Having everything on hand will minimize interruptions and allow you to focus on achieving the best possible results. Knowing what to buy is half the battle.
Sanding Essentials
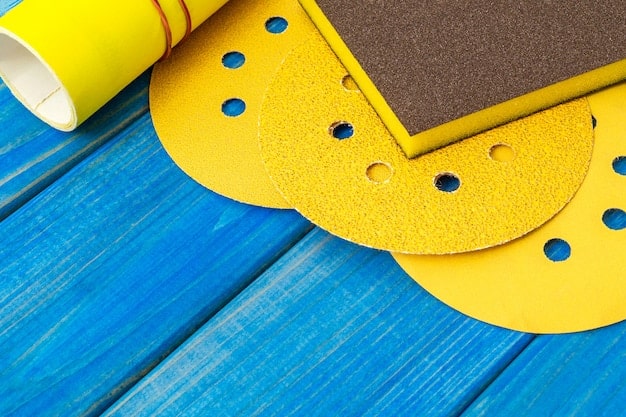
- Sandpaper: Various grits (80, 120, 220, 320, 400) for different stages of sanding.
- Sanding blocks: Provide a flat, even surface for sanding, preventing uneven pressure.
- Detail sanders: Useful for sanding intricate areas and tight corners.
Priming and Sealing Needs
- Primer: Fills imperfections and creates a uniform surface for paint.
- Sealant: Protects the paint and adds durability to the finished prop.
- Spray gun or aerosol cans: For applying primer and sealant evenly.
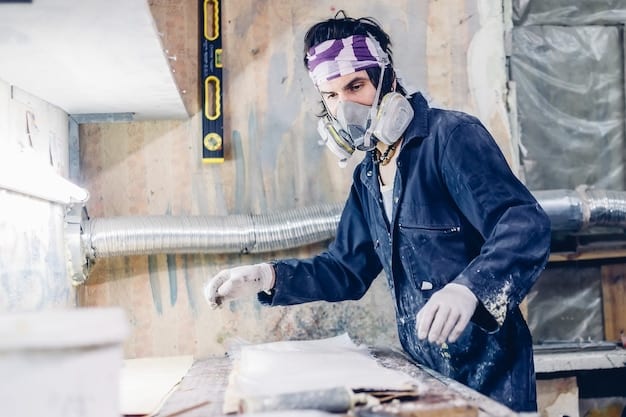
In addition to these essentials, consider investing in tools like a respirator mask to protect yourself from dust and fumes, safety glasses to shield your eyes, and a well-ventilated workspace to ensure a safe and comfortable working environment. These safety measures are crucial for protecting your health and well-being throughout the prop-making process.
Sanding Techniques for a Flawless Surface
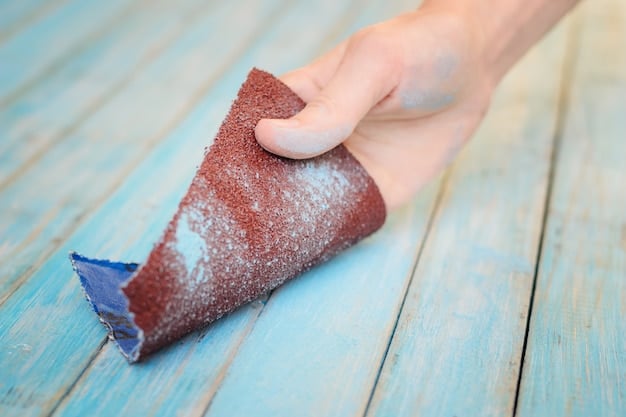
Sanding is a crucial step in achieving a smooth, even surface on your cosplay prop. It removes imperfections, blends seams, and prepares the prop for priming and painting. Mastering different sanding techniques is key to achieving a professional finish.
The Sanding Process
Progress through different grits of sandpaper, starting with a coarser grit to remove major imperfections and gradually moving to finer grits to refine the surface. Avoid skipping grits, as this can result in an uneven finish. Remember, too little sanding is as bad as too much.
- Coarse Sanding (80-120 grit): For removing large imperfections and shaping the prop.
- Medium Sanding (120-220 grit): To smooth out the surface after coarse sanding.
- Fine Sanding (220-400 grit): For final smoothing before priming.
Pay attention to edges and corners, using detail sanders or folded sandpaper to reach tight areas. Avoid rounding over sharp edges unless it’s part of the desired design. Work methodically, ensuring every part of the prop receives equal attention. When using coarse sandpaper, apply gentle pressure to avoid gouging the surface. Overlap each pass to ensure consistent coverage.
Priming: Creating a Perfect Canvas
Priming is the process of applying a base coat to your sanded prop, creating a uniform surface for paint. It fills in any remaining imperfections, improves paint adhesion, and ensures vibrant, long-lasting colors. Choosing the right primer is essential for achieving the desired results.
Selecting the Right Primer
Consider the material of your prop and the type of paint you plan to use when choosing a primer. Different primers are formulated for specific materials like foam, plastic, or wood. Select a primer that is compatible with your chosen paint to avoid issues like cracking or peeling.
Applying Primer Evenly
Apply primer in thin, even coats to avoid drips and runs. Use a spray gun or aerosol can for best results, holding the nozzle about 10-12 inches from the surface. Overlap each pass slightly to ensure complete coverage. Allow each coat to dry completely before applying the next. Remember that patience is key.
Once the primer is dry, lightly sand the surface with fine-grit sandpaper (320-400 grit) to smooth out any imperfections. Wipe away any dust with a tack cloth before proceeding with painting. This step ensures a flawless surface for your paint job, enhancing the overall look of your cosplay prop.
Sealing: Protecting Your Prop for the Long Haul
Sealing is the final step in prop finishing, providing a protective layer that shields your paint job from scratches, UV damage, and moisture. It ensures your cosplay prop remains vibrant and durable, even after multiple uses. There are many sealants on the market.
Choosing the Right Sealant
Select a sealant that is compatible with your paint and provides the desired level of protection. Different sealants offer varying degrees of gloss, matte, or satin finishes. Consider the intended use of your prop when making your selection.
Applying Sealant Correctly
Apply sealant in thin, even coats, similar to primer. Use a spray gun or aerosol can for best results, maintaining a consistent distance from the surface. Avoid applying too much sealant at once, as this can lead to a cloudy or uneven finish. Allow each coat to dry completely before applying the next.
- Gloss Sealant: Gives a shiny, reflective finish.
- Matte Sealant: Provides a non-reflective, flat finish.
- Satin Sealant: Offers a balanced, semi-reflective finish.
To determine if your prop requires another coat of sealant, look closely at the coverage after the first coat dries completely. If you notice any thin or uneven areas, or if you applied any decals, you will want to add another coat.
Troubleshooting Common Finishing Problems
Even with careful preparation, you might encounter some common problems during the finishing process. Knowing how to troubleshoot these issues will help you achieve a professional-looking result and avoid costly mistakes. With practice, you will become adept.
Dealing with Imperfections
If you notice imperfections like scratches or dents after priming, use spot putty to fill them in. Allow the putty to dry completely, then sand it smooth before applying another coat of primer. For more minor imperfections, multiple coats of primer and careful sanding may be sufficient.
Preventing Peeling Paint
Peeling paint can be caused by inadequate surface preparation or using incompatible paints and primers. Ensure you properly sand and prime your prop before painting, and always check that your chosen paints and primers are compatible. If peeling occurs, remove the affected paint, re-prime the area, and repaint.
Common issues can also include bubbling, cracking, and uneven coverage. Bubbling can occur if the primer, paint, or sealant is applied too thickly. Cracking is an indication of excessive bending. Uneven coverage can sometimes be solved by spraying closer. It is important to be comfortable with trial and error to get the hang of prop finishing.
| Key Point | Brief Description |
|---|---|
| ✨ Sanding | Smooths surfaces and removes imperfections using various sandpaper grits. |
| 🛡️ Priming | Creates a uniform base for paint, enhancing adhesion and color. |
| 🔒 Sealing | Protects the paint from scratches, UV damage, and moisture. |
| 🛠️ Tools | Includes sandpaper, sanding blocks, primer, sealant, spray equipment. |
Frequently Asked Questions
▼
Start with 80-120 grit sandpaper for removing major imperfections and shaping the prop. Then, gradually move to finer grits like 220-400 to smooth the surface before priming. Never skip grits as the finish will be uneven.
▼
Apply 2-3 thin, even coats of primer, allowing each coat to dry completely before applying the next. Lightly sand the surface with fine-grit sandpaper (320-400 grit) after the primer is dry to smooth out any imperfections.
▼
While some spray paints offer a degree of protection, it’s best to use a dedicated sealant for optimal durability. Sealants are specifically formulated to protect paint from scratches, UV damage, and moisture, which is important for preserving the quality.
▼
Apply primer and sealant in thin, even coats, holding the spray nozzle about 10-12 inches from the surface. Overlap each pass slightly to ensure complete coverage. Avoid applying too much at once, and ensure each coat dries before the next.
▼
It is best to complete these steps in a well-ventilated area, wearing safety glasses and a respirator mask to prevent inhalation of dust and fumes. A controlled environment can also help avoid dust and debris getting into the primer or finish.
Conclusion
Mastering cosplay prop finishing techniques is essential for creating durable, professional-looking props. By understanding the importance of sanding, priming, and sealing, you can transform raw materials into stunning works of art that stand the test of time.


